Featured Post

Welcome

     I have long wondered how the foods mentioned in the Twilight novel series would look and taste. Some foods Bella cooked herself, a symp...

Saturday, September 12, 2020

Vampire Popcorn


 Technically, it's Vampire (proof) Popcorn.

INGREDIENTS

1/2 cup popcorn kernels (use the freshest you can get, check the date on the packaging.)

1 stick of butter (1/2 cup.)

1 bulb of garlic

1/4 cup sweet rice flour (Mochiko.)

1/4 cup water

Granulated garlic

Cayenne

Smoked paprika

Salt

Chives


Pop popcorn with air popper, on stove in a pan with minimal oil, or in a microwave in a plain paper bag. Orville Redenbacker popcorn will yield bigger pops than Jolly Time. The fresher the popcorn, the more the moisture content in the kernel and a bigger pop for it's kind. Put popcorn in a large bowl with extra room for stirring in the other ingredients.

In a small bowl, combine the sweet rice flour with the spices. Sprinkle in what you feel like. The "sweet" part of "sweet rice" indicates that the rice was short grain, a more glutinous type. That means more sticky. Glutinous does not mean there is gluten in it. Add in the water and stir till you have a mushy paste, like peanut butter consistency. Spread the paste onto a non-stick mat or parchment paper. Wax paper does not work. If your mat is bigger than your microwave plate, you can fold a part of it under. The paste does not need to cook flat. Spread into a rectangle shape about the size of a piece of paper folded in half.

Cook for 2 minutes on high and check. If you see a lighter color in the middle, cook it for another minute. Turn the rectangle over and cook again for 2 minutes. Be careful because it will be hot. When the edges are hard, you are done cooking it. Let it cool so you can handle it.

If the dough is crispy enough, snap off little pieces. For the part that is softer, cut into small squares, about 1/2". This is to make rice crackers to add to the popcorn.

Put the cracker pieces aside. Cut the bottoms off all the cloves of garlic. Peel without crushing the garlic cloves. Slice any direction you like. You'll need at least 6 big cloves for the popcorn to taste garlicky. 

Melt 1/4 cup of butter in a small non-stick saute pan. The small size is so that the melted butter is deep enough for frying the garlic and crackers. Use a low heat so the butter doesn't brown quickly. Add the garlic and stir often so the slices cook at the same time. When evenly golden, pour the entire contents of pan over the popcorn. This makes garlic chips. Avoid over cooking because that will make it taste bitter. When cooked just right, it will be crunchy and mild. Toss the popcorn.

In the same pan, melt the rest of the butter. When all melted, fry the cracker pieces over medium low heat. When butter begins to foam, pour all the contents into the bowl of popcorn again.

Chop chives. You can mix it all in or sprinkle on the top.

The garlic chips and rice cracker bits will sink to the bottom of the bowl. I recommend dishing out the popcorn into individual containers and then dividing the yummy bits at the bottom of the bowl, just to be fair for everyone ... maybe, and so you can sneak in more bites of the cracker.

I ordered the boxes off Amazon. They hold about 1 1/4 cup of popcorn, just right as an appetizer. I ordered 1000 of the stickers and I'd be happy to mail them to you. 10 stickers for $1.50. 

Mountain Lion Meatloaf

 This is a pastry covered meatloaf inspired by a Scandinavian recipe. The original calls for Elk meat, but that's not Edward's favorite, so we'll use whatever we can easily hunt for in the local grocery store. 

Serves 2

Preheat oven to 400˚ 

INGREDIENTS

Dough:

3/4 cup all-purpose flour or gluten-free flour blend substitute (not just almond flour.)

4 Tablespoons of chilled butter

3 Tablespoons of sour cream

1/4 teaspoon salt

1/2 an egg

Filling:

1 cup of pre-cooked ground meat (beef or turkey) (don't tell Edward before hand.)

1 1/2 cups shredded Gruyere cheese. About 6 ounces by weight.

1 - 2 cups of flat, Italian parsley. (The curly parsley gives a bitter taste when cooked in this recipe. You can also use dry parsley. Cut the amount down by half. In my house, we love how the parsley cuts up the meat and cheese so we use 2 cups.)

1/8 teaspoon each of ground marjoram, rosemary, thyme, and allspice.

1/4 teaspoon ground nutmeg

Optional ground black pepper

1/2 an egg


In a food processor, add all the filling ingredients EXCEPT FOR THE EGG. Process till everything is minced. Stop before it turns into a paste. Dump everything into a medium size bowl. Do not scrape the work bowl with the big pieces of parsley. The big leaves could prevent the molded meat from adhering. Set aside.

In a small bowl, mix up the egg so that it is well blended and the whites are broken up. Use grade A or AA eggs, large size or larger. 

In another medium size bowl, add slices of chilled butter and the flour. Make sure you measure the flour after you have aerated it with a fork and you spoon the flour into the measuring cup. Avoid scooping flour as that could pack the flour and put way too much flour into the recipe.

Cut the butter and flour with a pastry cutter or large serving fork with widely spaced tines. Cut until it looks like pebbly sand. Using a spatula, stir in salt, 1/2 the mixed egg, and the sour cream.

Take care not to over blend your dough. If using gluten-free flour, you can blend more than you think. Form into a ball in the bowl. Cut in half and separate. With each half, divide 60/40. The smaller portions are for the bottom of the meatloaf and the larger portions are for the tops. 

Roll our smaller portions one at a time between 2 pieces of wax paper. Try to shape your dough into a long triangle the size of your hand. If you end up with an oval, that's fine. Place the rolled dough onto a non-stick mat like a Silpat or some parchment paper on a baking sheet.

Back to the meat mixture. Now you add the remaining egg and stir in thoroughly. Grab as much as will fit into your hand and press into a triangle that is about 1 1/2" thick. Place that one one of the dough bottoms. Place another one on the other dough. Now carefully press the remaining meat onto the formed meat. There will be a lot left because you can't hold half the meat mix in your hand with the initial mold. The triangles are supposed to look like the head/face of a mountain lion.

Keep the top of the molded meat flat. Any kind of shaping you do will flatten as the cheese melts.

Press the dough up the sides of the meat.

Roll out the tops of the dough about an inch bigger all around than the bottom dough. Loosen the dough from both pieces of wax paper so it comes of easier over the meat. Working with real flour will be much easier than the gluten-free flour.

Place the dough on top. You'll need enough overhang to seal the dough and to cut off some to make the nose and brow ridge. Ball up the cut away dough. Divide in half. Roll into tubes and make sort of a T on the dough. Sculpt at will. Sometimes I make a dent at the top to make a heart shape out of the whole thing so there are "ears." Make sure when working with real flour that you seal the dough at the bottom. While cooking, the dough will shrink, exposing the sides. If you have time to rest the dough before baking it, it will shrink less.

Make holes at the bottom of the face for venting and "whiskers."

Bake for 25 minutes. Depending on your oven, you may need to cook it at 425˚. You want the dough to be golden but not the meat and cheese to melt too much and dry out.

Cool for 10 minutes before moving to serving dish.

If you double the recipe, you won't need to use 1/2 an egg. :)

I hope you'll bake this often. It's a family favorite in my house. Before this class, it was shaped into 1 long log. It makes the task much easier. But mountain lions for Edward is fun for a Midnight Sun cooking class. When you make it into a log, save some dough to make a lattice design or little leaves and flowers.

Enjoy! 

Masen House Cabbage


 Edward came from Chicago in the early 20th Century and his family name is Masen. These facts point toward Irish heritage. Though cabbage is a worldwide staple, and we needed a side dish for our Midnight Sun meal, I looked up Irish cabbage recipes. Keeping on the side of lower carbs, I picked this recipe.

INGREDIENTS

6 slices of uncooked, thick-sliced bacon

1 head of green cabbage, about 6" in diameter

1 yellow onion, about 3-4"

Salt to taste

Optional ground black pepper


Cut the bacon into 1/2" pieces. In a large cast iron skillet on medium low heat, cook the bacon until crispy caramel color. While the bacon is cooking, slice the onion. First cut the onion into quarters and the cut so the slices separate into quarter rings. Keep stirring the bacon. If it is cooking too fast or splattering, reduce the heat. Next, cut the cabbage into slices, 1/8"-1/4". Remove the bacon from the pan onto a dish, no paper lining. Put in the onion and cabbage slices. Keep heat at medium low. Allow vegetables to caramelize and only stir periodically. When vegetables are cooked with some browning, add back the bacon and stir.

Pomegranate Parfait


 INGREDIENTS

serves 2

 16oz 100% Pomegranate Juice

4 envelopes of unflavored gelatin, or 1.2 ounces by weight, or 

In a microwave-proof bowl or measuring beaker, put in your gelatin then pour in the cold juice. Stir with a small whisk. Microwave on high for 2 minutes. Stir again. Microwave for another 2 minutes. Stir and check that no pieces of gelatin stick to the whisk. If it is clean, the mix is ready. If not, microwave in 1 minute installments until all gelatin is melted.

Pour into 9"x13" glass pan. Cool to room temperature. Cover with plastic wrap and chill in refrigerator.

Cut into small cubes.

In 2 parfait cups or goblets, put in 1/4 of the cubes.

Layer on whipped cream.

Continue layering until all the gelatin is served.

Bella's Lemonade


These are the bottle caps I've placed on order. I'll let you know when they arrive. I think it was great Twilight karma to receive the first run bottle caps during our cooking class! I know I screamed and people thought I had burned something. Heehee. You see, though I had sent in the order 2 weeks prior and then was notified it was shipped a few days ago, the estimated delivery date was Monday. But a miracle happened and my husband picked it up from the door step and interrupted our class with the box! Anyway, we saw on camera that the lettering wasn't readable, so the above picture is version 2. I've already sent in a new order.

LEMONADE RECIPE

Remember the ratio of 1:1:5.

1 part freshly squeezed lemon juice.

1 part sugar.

5 parts water.


For a serving of 2:

1/2 cup lemon juice

1/2 cup sugar

2 1/2 cups water

This will yield about 36 ounces or a little more than a quart.

The sugar may be substituted with sugar substitute. I use Stevia blend sugar substitute at half the amount of the sugar.

Thursday, July 30, 2020

Cullen Wedding Cupcake


Tools & Supplies:


Mini cupcake pan.
Regular cupcake pan.
Jumbo muffin pan.
Liners for all 3 sizes if you want to use liners.
Heavy duty mixer for the frosting.
Disposable frosting bags.
Small round or star tip for cake decorating.
Knife for trimming.

Frosting Ingredients:

1 cup unsalted butter, room temperature.
6 Tablespoons whole milk, room temperature.
2 teaspoons vanilla
8 cups of confectioners sugar, aka powdered sugar, icing sugar. (2 lb. bag.)

Cake:

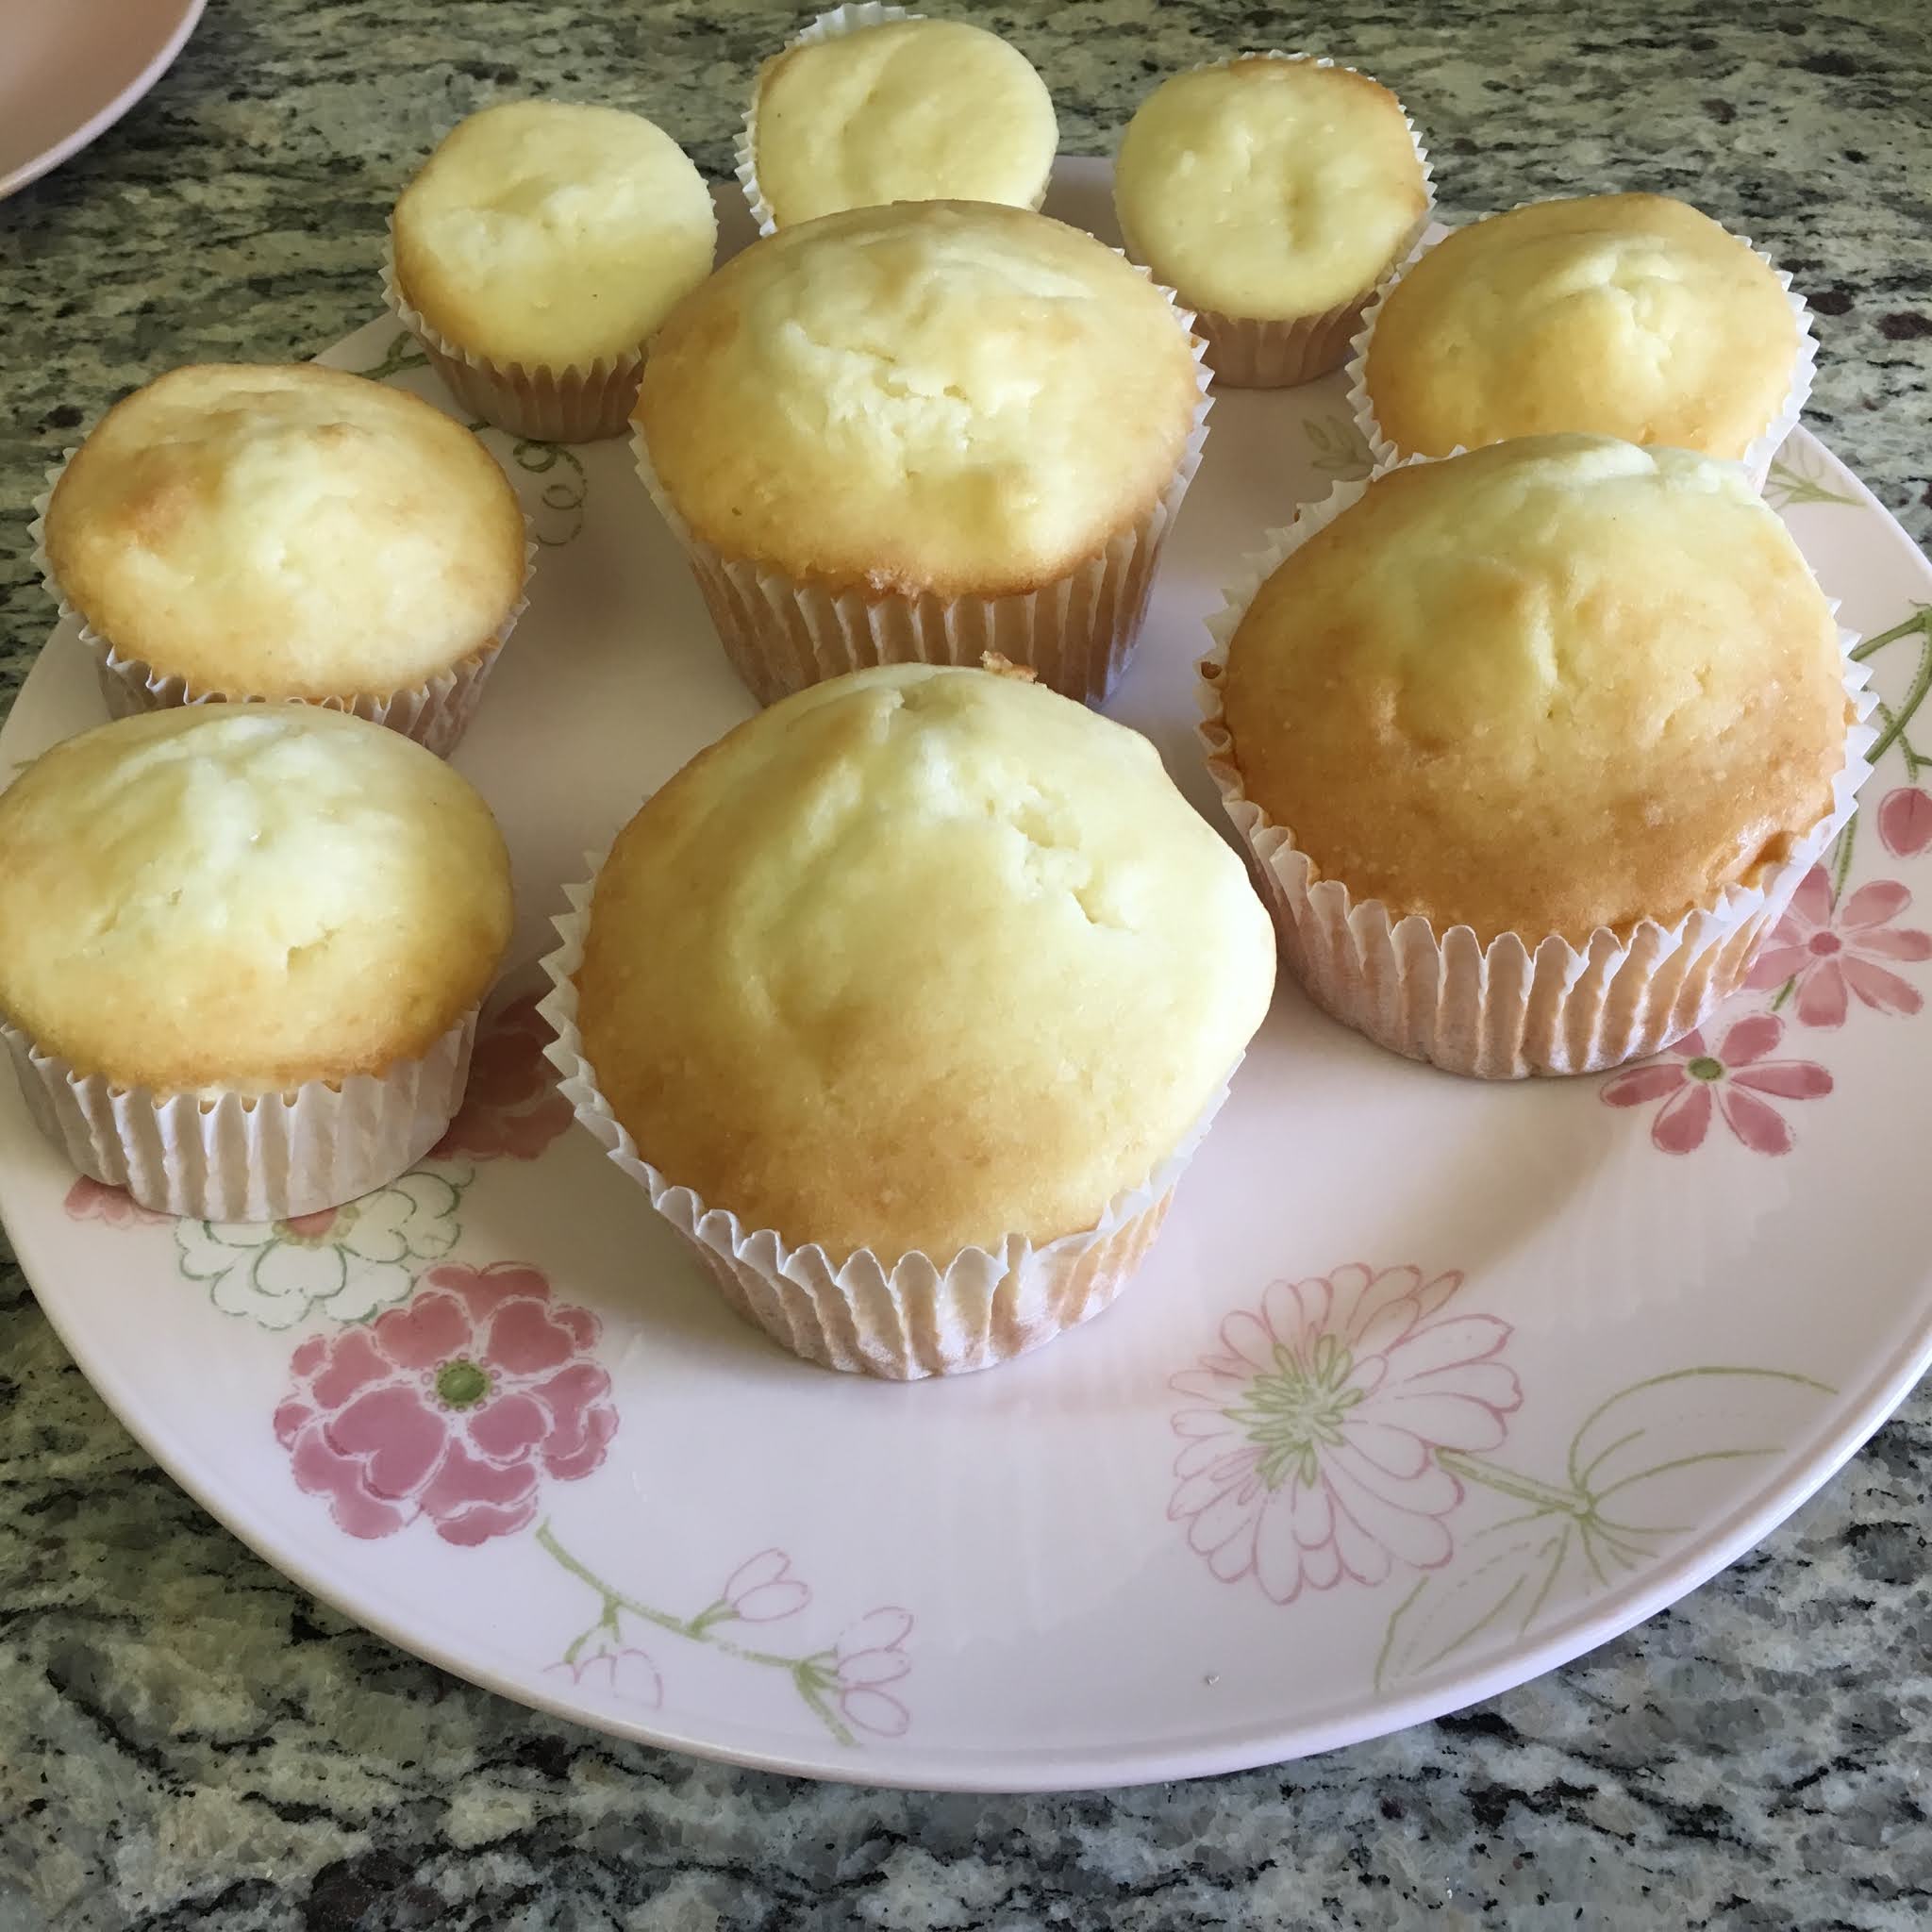
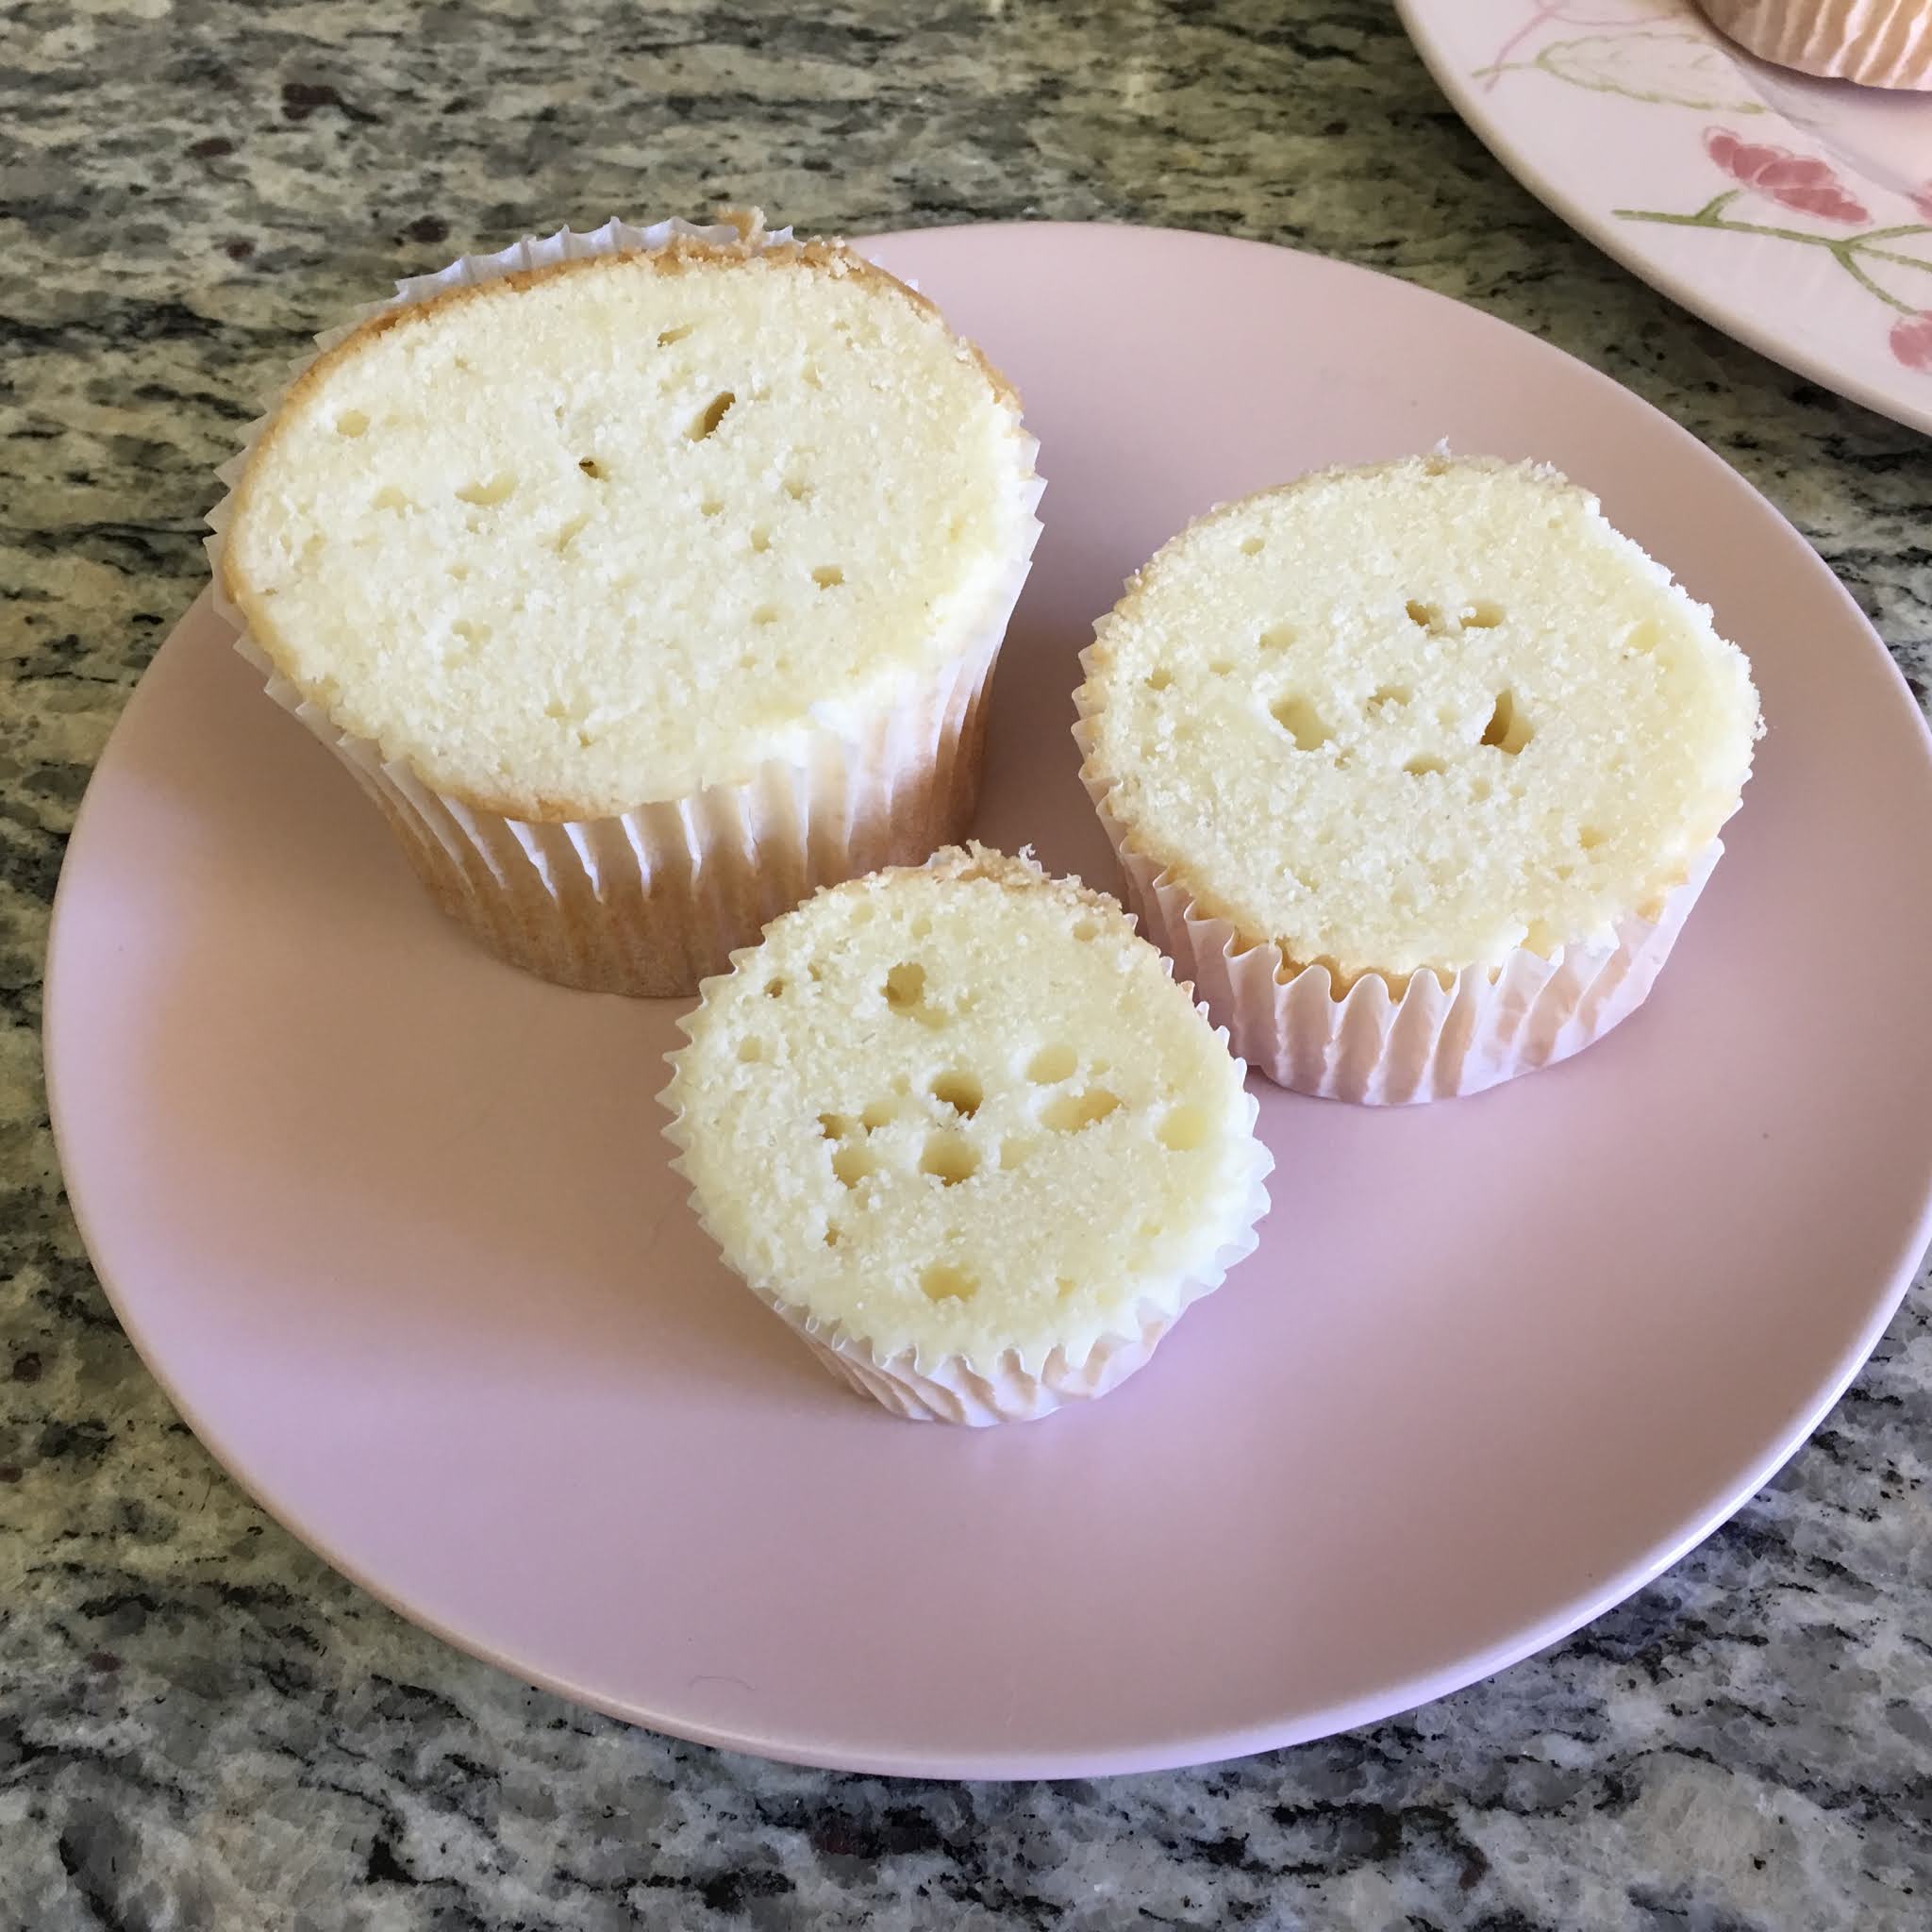
Use any cake mix or cake recipe you like. Fill each cup a little over 1/2 so that the cake rises all the way to the top, all around, rather than peeking at the top and having shallower sides. Cool all the way then freeze if you have time.
As another option, you can bake the cake mix in a 9"x13" pan and cut 3 sizes of circles. I think this wastes more cake but then you don't need to buy the different sizes of muffin pans.

Here is a video of trimming the sides of the cupcake so that they are straight, not angled, and of piping the frosting on.


Frosting Instructions:

Using ingredients at room temperature speeds up mixing the frosting properly and lets more air in. Air is the secret. When butter frostings fail or separate, especially so in heat, it's because there isn't enough air to stabilize it. Use butter, not margarine, not shortening.

I recommend using a metal bowl and a wire whisk attachment. If you only have glass and a handheld beater attachment, avoid hitting the beaters on the sides of the glass bowl. A note about the size of the bowl. When I doubled the recipe to save time mixing 4 batches of frosting for class, it did not turn out right. The size of the bowl needs to be big compared to the amount of ingredients. I use a 6 quart bowl for the single recipe and it turns out well. If you have a smaller bowl, cut the recipe into half.

1. Aerate the butter. Whip the butter until it is much lighter in color. It should be nearly white. Be patient. This is the crucial step. If you want your frosting to hold up in heat, invest your time into this step. 

2. Thin the butter. Start the mixer on a low setting and pour in 1 tablespoon of milk. Pick up speed slowly so the milk doesn't splatter out. At first, the milk will make everything separate, but a little while on medium or medium-high speed, it will begin to incorporate in and give a new texture. Stop the mixer and use a spatula to scrape down the sides. Push everything into the middle and whip on high speed till lighter. Continue this process for the remaining 5 tablespoons of milk. By the end, it should look like whipped cream.

3. Add flavoring. Add the vanilla or other flavoring. Proceed like step 2.

4. Add powdered sugar. Gently place in 2 cups or so of sugar. Put the mixer on low until all the the powder has been incorporated. Now mix on medium high, pausing once or twice to scrape down the sides. Continue three more time. 

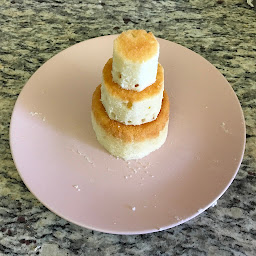
5. Pipe onto cake. Cut the tip on the disposable frosting bag. If you don't have a frosting bag, you can make a tube with freezer paper or even a heavy-duty freezer bag. Place the tip in the bag and fill halfway with frosting. Push the frosting down the bag and either twist the top of the bag or roll down the top. Pipe the frosting in any pattern onto the sides of the jumbo cupcake. You can smooth out the frosting with a knife Place on plate or foil round and frost the top. Finish the next two layers and decorate how you like.


Monday, July 27, 2020

Isle Esme's Fruit Compote

Carlisle bought an island, an entire island, for Esme. The island, name Isle Esme, is off the coast of Brazil. Food is brought in by boat for the guests that eat, and would either be prepared by the guest or there would be a cook, possibly a local Brazilian cook. 

This Isle Esme's Fruit Compote combines ingredients that would be available for Bella. The class enjoyed how refreshing it tasted, especially because the room was so hot baking the cinnamon rolls and the mini wedding cakes. Some had never seen or tasted papaya before. None of them had ever cut or peeled one.

Serves 4

1 Formosa (Red) Papaya
1/4 cup honey
4 teaspoons fresh lemon juice
4 fresh mint leaves

The ripeness of the papaya matters. It would be better to buy one that isn't so pretty than to buy one that isn't ripe. Unripe ones are bitter. Here is how I cut it. Cut fat rings, not a long slice through the length of the fruit. Push the seeds out of the rings. Skin the rings. This is so easy compared to doing funny shaped slices. Cut in half so you can stand it up and make the rings thinner if you like. Then cut bite-sized pieces.
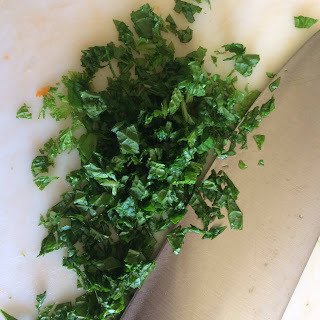
For the mint, pick off the leaves you want, wash and dry them, then mince finely. There is a Brazilian mint shrub, but it's a strong, medicinal plant. So, use the culinary mentha family plants - spearmint, peppermint, etc. I love using a hand press for citrus. The cut side faces down the cup part with the holes. You can eat this chilled or room temperature. Enjoy!